The Complete Guide to Cabinet and Countertop Installations
Upgrading your kitchen or bathroom with cabinet and countertop installations is one of the most impactful changes you can make. These features significantly influence the aesthetics and functionality of your space, as well as storage options. If you're remodeling or starting from scratch, understanding the installation process equips you to make informed decisions and avoid costly mistakes.
1. Plan the Layout and Select Materials
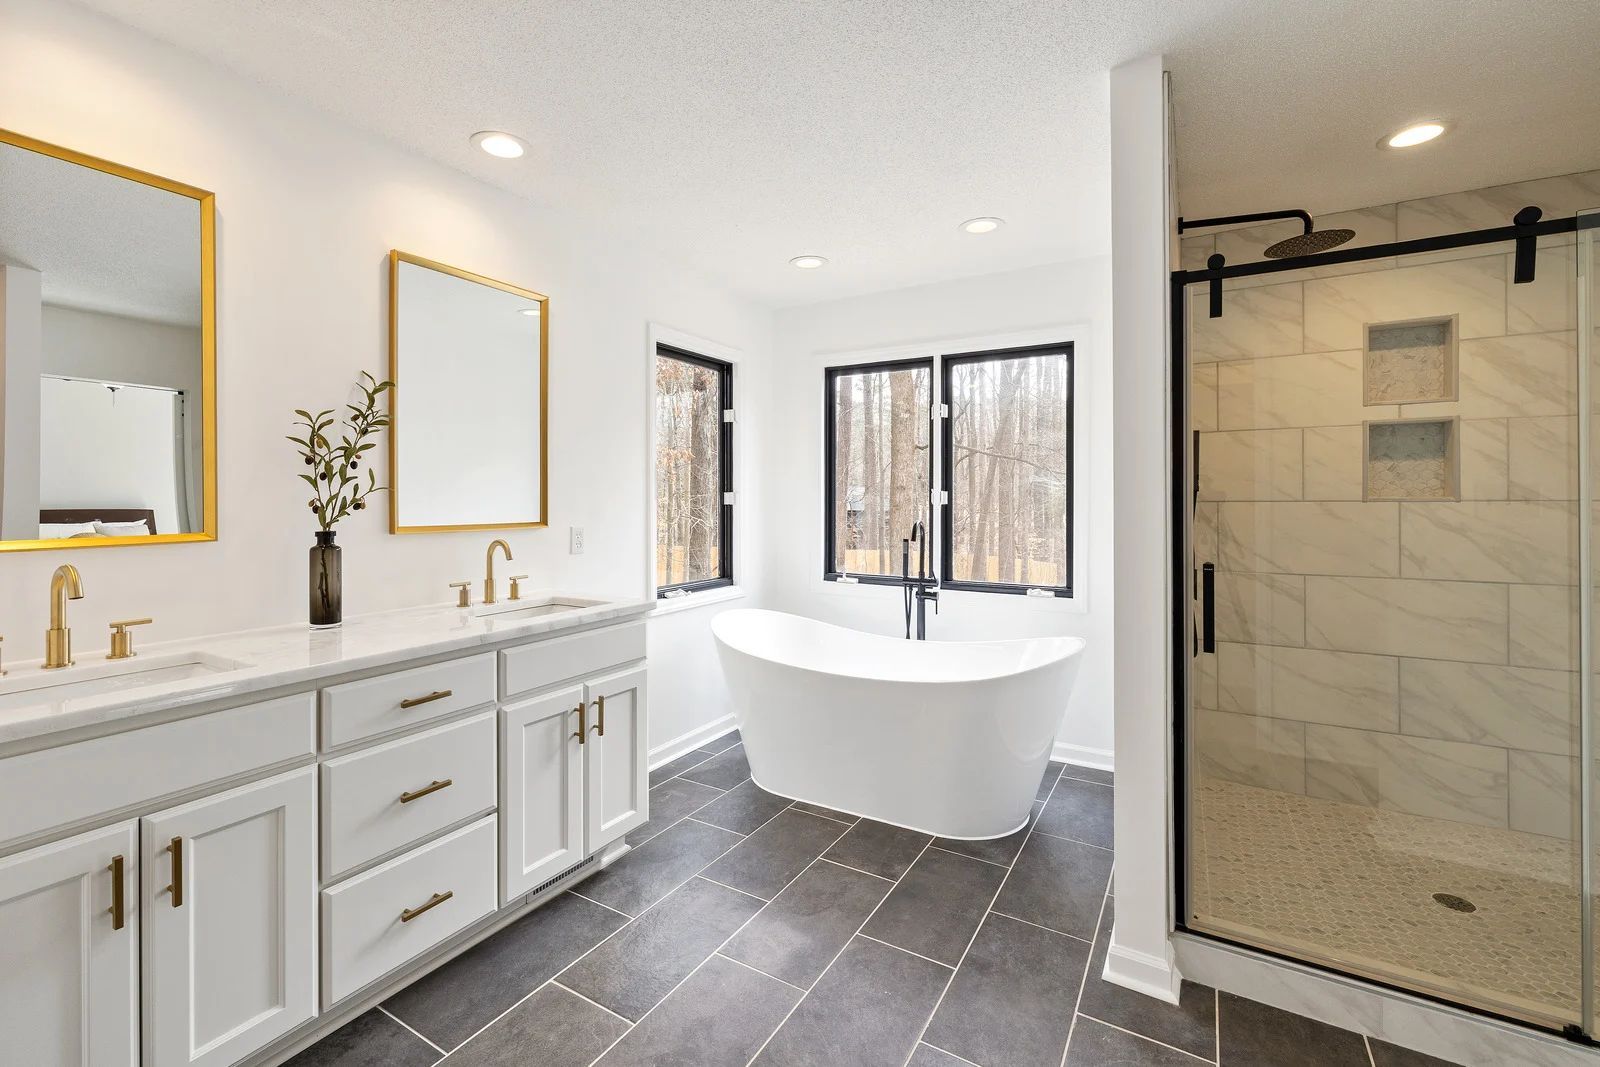
Every successful installation begins with careful planning. Start by accurately measuring your space, considering factors like ceiling height, window and door locations, and current utilities. Determine the layout of your cabinets—whether base cabinets, wall-mounted units, or a pantry—and make sure your design supports appliances and workflow. Choose your cabinet and countertop materials concurrently. Options for cabinets include solid wood, MDF, or plywood, with finishes such as painted, stained, or laminated. Countertop materials range from quartz, granite, and marble to laminate and butcher block. Align your choices with your requirements—quartz is easy to maintain, granite offers exceptional durability, and laminate is cost-effective. Finally, make certain that the cabinet finish and countertop style work well together for a unified appearance.
2. Prepare the Space for Installation
Before starting installation, remove the existing cabinets and countertops. Handle this demolition phase with care to prevent damage to walls, floors, or utility connections. Turn off plumbing and electrical connections in the area, and clear the workspace. Additionally, inspect the condition of the subfloor, walls, and framing. Ensure that walls are straight and floors are level, as uneven surfaces can disrupt cabinet alignment. If necessary, now is the opportune time to upgrade any plumbing or wiring situated behind the cabinetry.
3. Install Cabinets and Countertops
Installation starts with mounting the upper cabinets, followed by the base units. This approach protects the lower cabinets from potential damage during the installation. It’s essential for cabinets to be level and firmly anchored to the wall studs. Precise measurements are taken for appliances, sinks, and ventilation to ensure appropriate spacing, and all doors and drawers should function without interference. After the base cabinets are installed, exact measurements are obtained for the countertops. For stone or solid surfaces, fabrication occurs off-site. Once the fabrication is complete, the countertop is installed, cut out for sinks or cooktops, and sealed if needed. The surface must align level and flush with the cabinetry. If tile or wood is chosen, the final sealing or grouting provides a clean and durable finish.
4. Final Adjustments and Finishing Touches
The last phase includes installing hardware like drawer pulls and cabinet knobs, adjusting hinges and drawer slides, and reconnecting any plumbing or electrical fixtures. All exposed gaps between cabinets, countertops, and walls are caulked or trimmed for a seamless appearance. The area is cleaned thoroughly to remove dust and debris, leaving the space ready for use.
Your Trusted Experts for Cabinet and Countertop Installation
At Wilson Demo and Rehab, we bring 9 years of experience to every project, helping homeowners in Omaha and Elk Horn, NE upgrade their kitchens and bathrooms with precision and care. Whether you’re replacing outdated cabinetry or building a brand-new space, we handle every step from planning to installation. Contact us today to schedule your consultation and get started on your dream remodel.


